In part three of my ongoing nostalgiathon refurbishing an Atari STFM it’s time to clean up the keyboard and case.
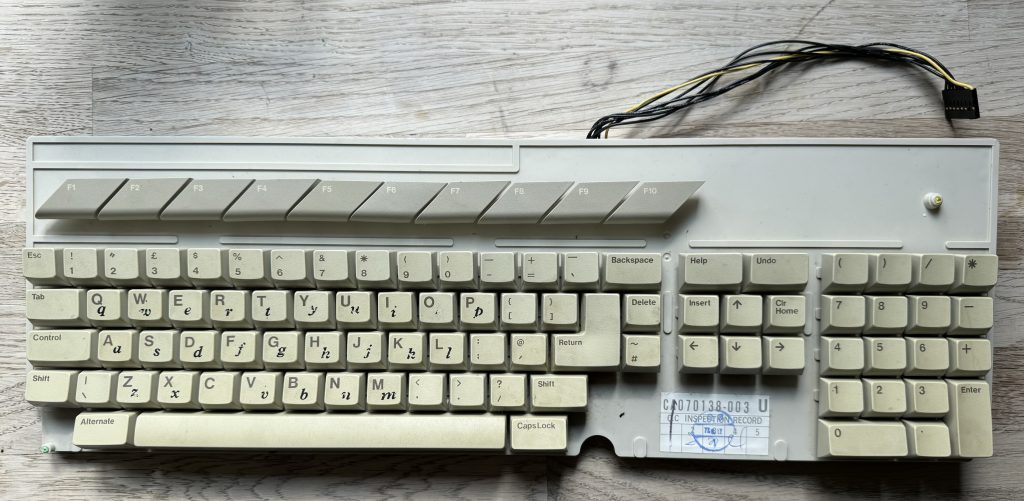
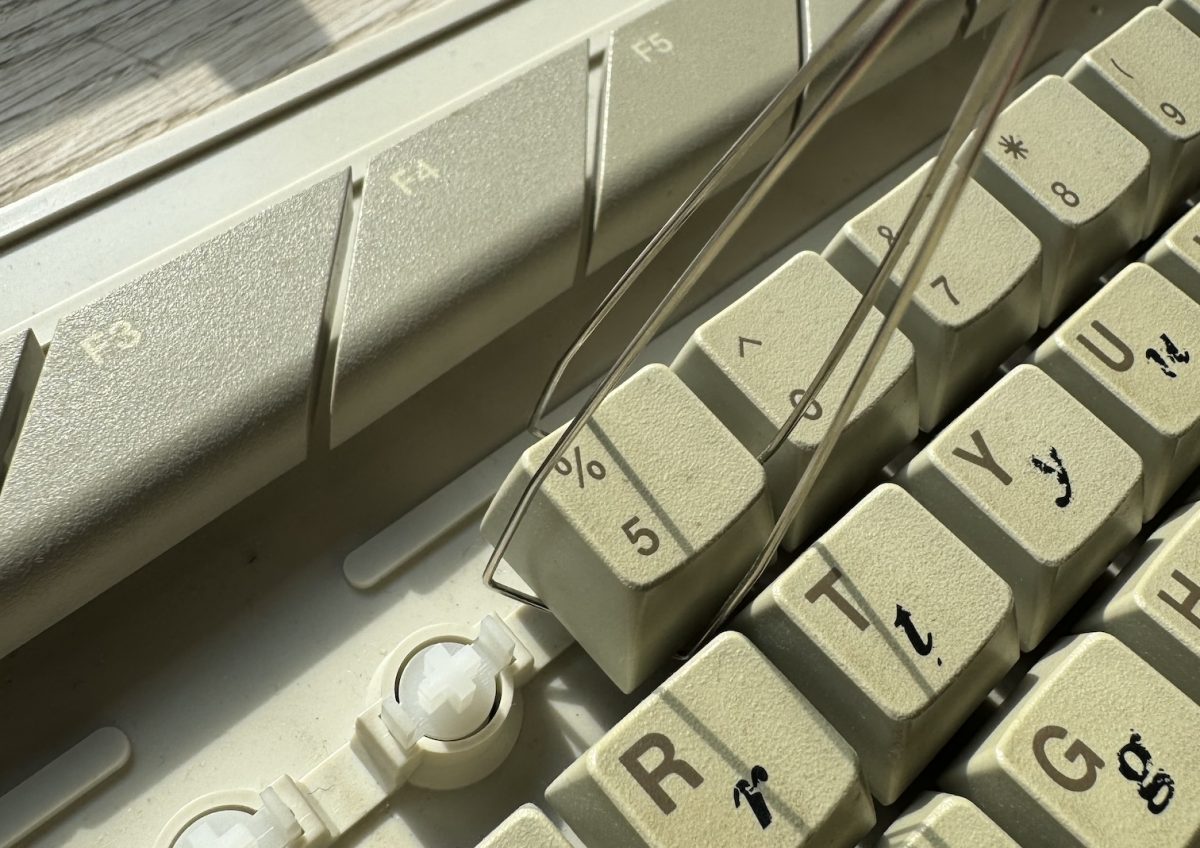
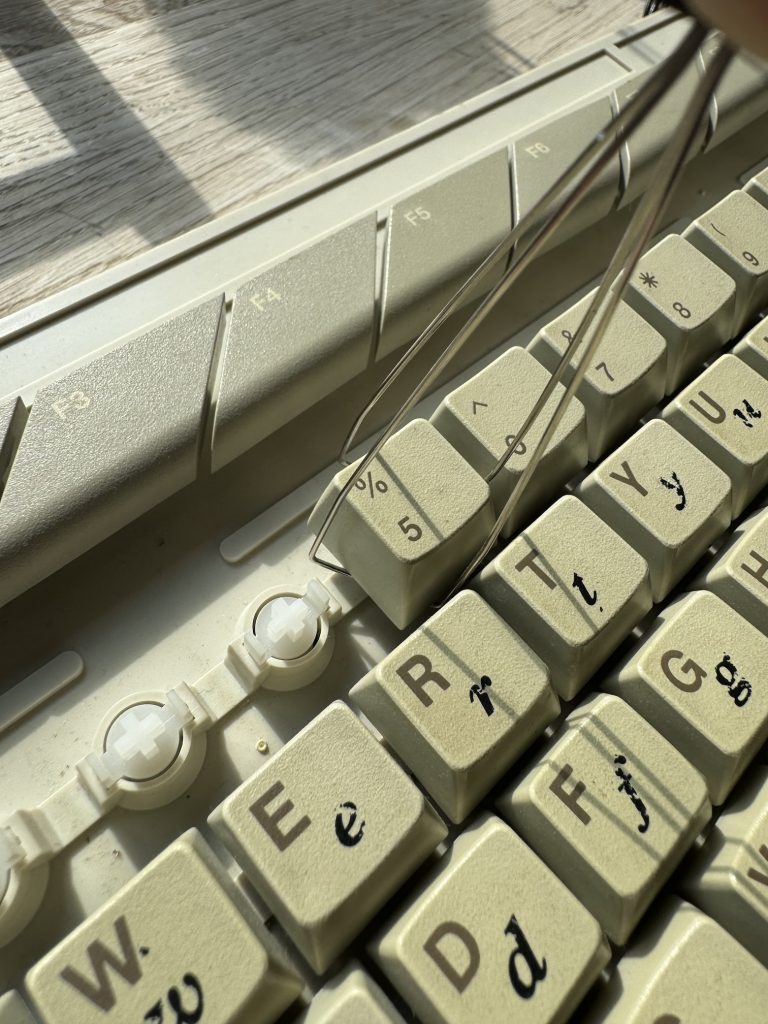
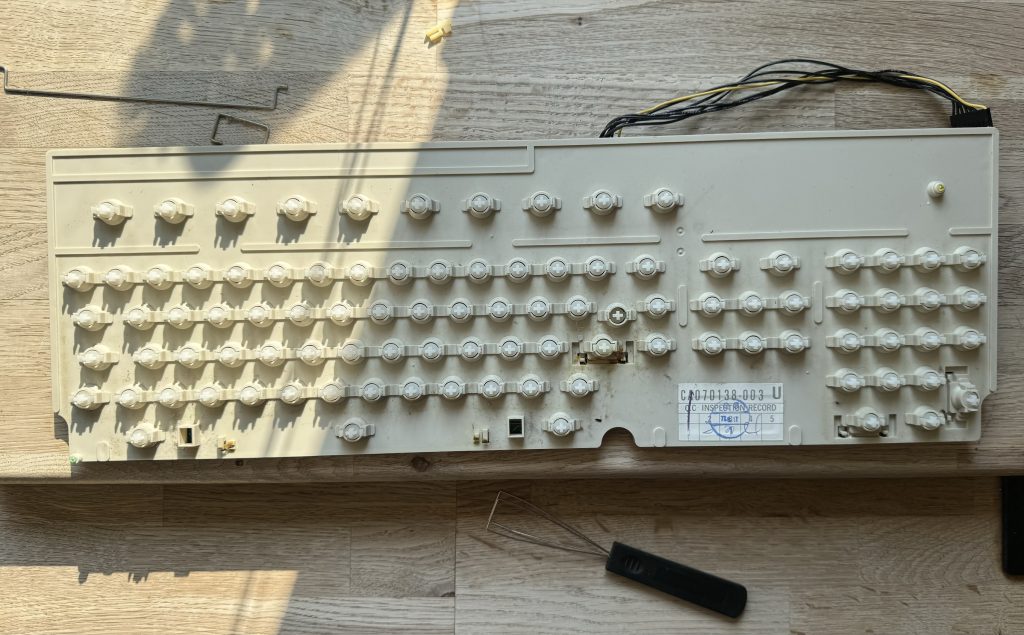
Step one is to remove the keyboard from the chassis – very simple to remove the seven short screws from underneath to release the top-side of the case. The keyboard floats on the shielding and is connected via a delicate 8 pin (7 wired and one polarising blank) header connector. This keyboard wasn’t very grubby – I’ve definitely seen much worse. A little grime and some letraset lower case, plus the usual dust, fluff and crumbs in-between the keys.
Using a keycap puller makes very quick work of removing all the key caps without damaging the switches or support pillars. The Enter and Space keys also have metal stabilisation bars which can be carefully unclipped from the keyboard chassis. Be gentle with these bars – they’re attached to the keycaps using small plastic clips which are easy to bend and break.
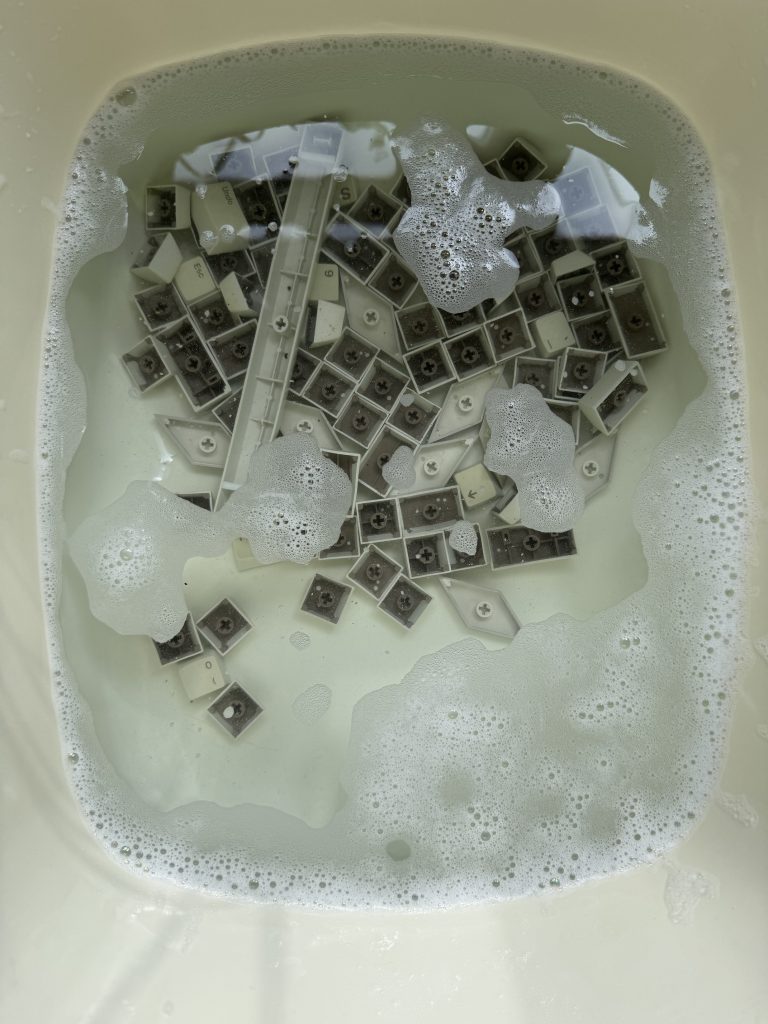
All the keycaps soaked in warm water and washing up liquid. These were individually scrubbed with a soft washing up pad, which was enough to remove the grime and the letraset.
The keyboard chassis with included light muck. This was wiped first with surface cleaning disinfectant wipes then with cotton-buds and isopropyl alcohol (IPA).
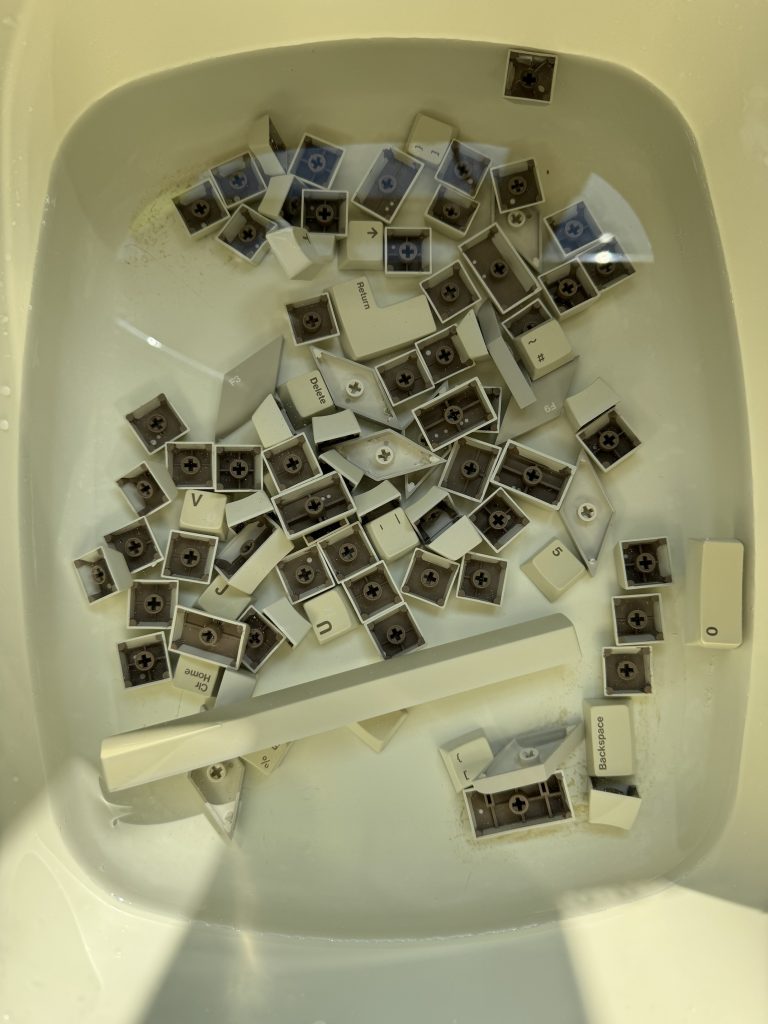
After scrubbing, the water was changed and the key caps were rinsed.
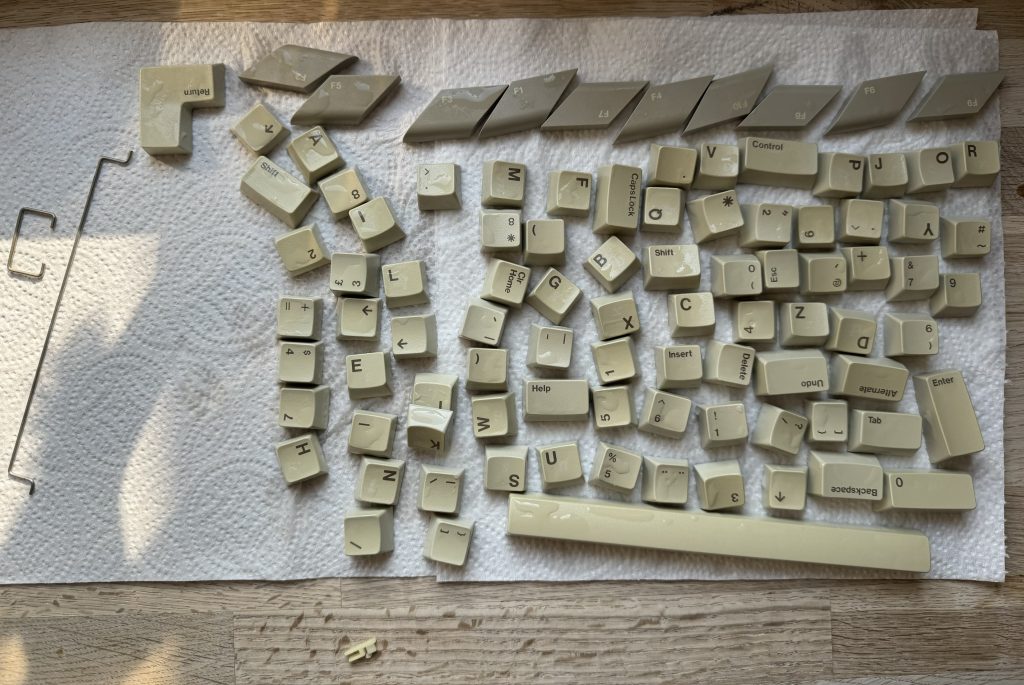
Keycaps were left to dry on kitchen towel. Also visible are the stabilisation bars for Enter and Space on the left, and one of the stabilisation support clips on the bottom.
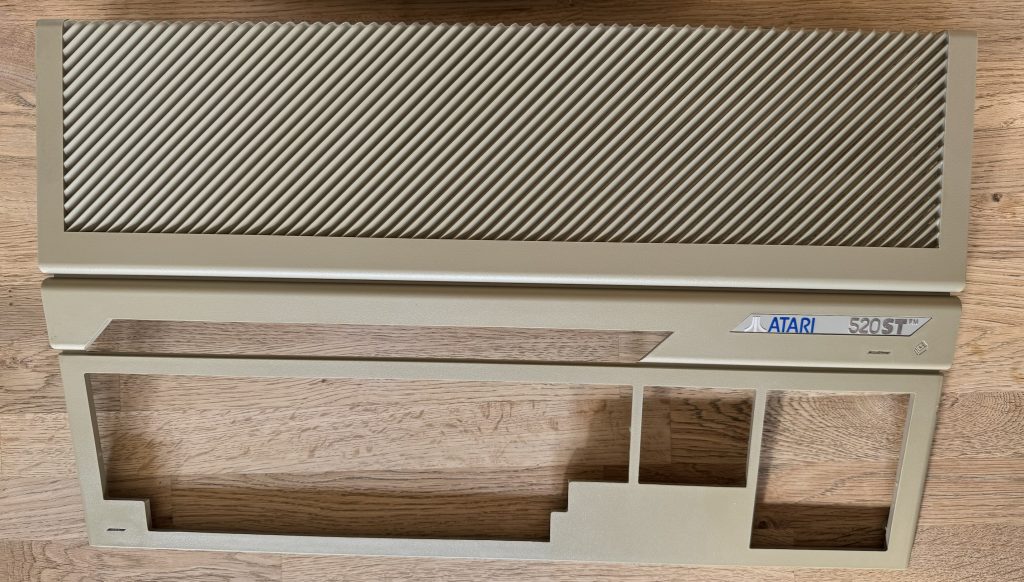
Whilst the key caps were being cleaned, advantage was taken of a pleasant sunny afternoon. The top case was liberally sprayed with oxyclean peroxide spray (similar to Retrobright) and left in the sun for several hours, respraying and rotating every half hour or so. This can also be wrapped in clingfilm to reduce or avoid respraying.
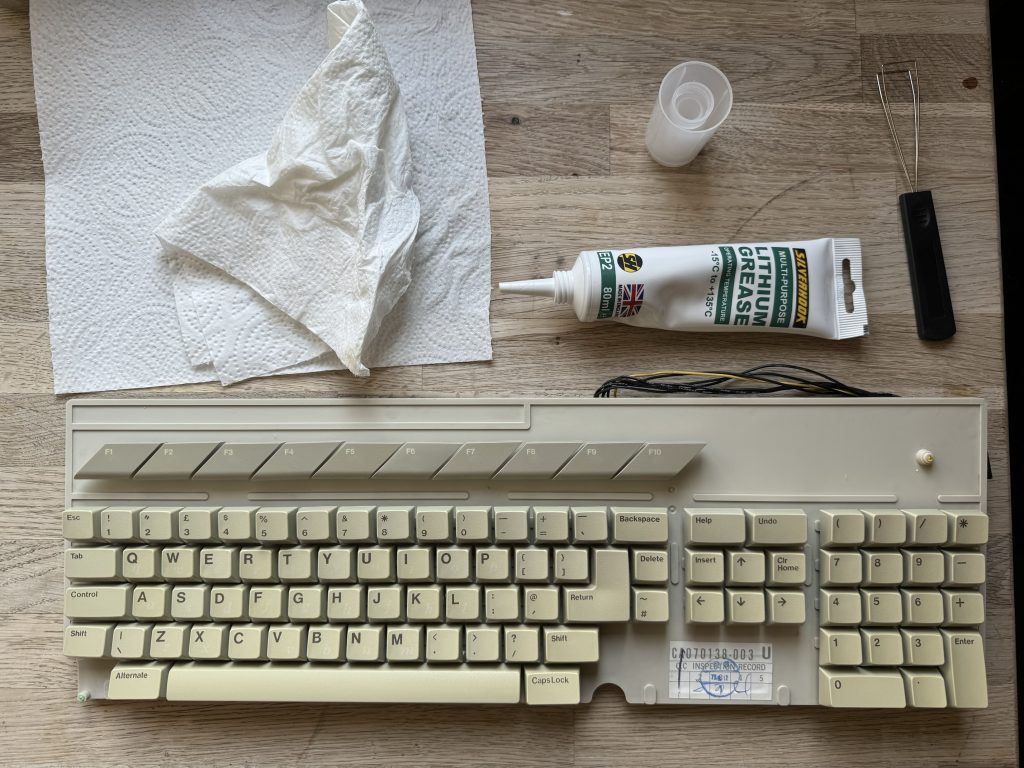
All the keycaps were replaced using a reference photo taken before disassembly. The stabiliser pivots also had a pinhead of lithium grease applied. I imagine this is only really to reduce squeaking.

Seeing everything reassembled in the case is very satisfying. The top case only suffered slight yellowing which has mostly cleared up now. I’ll have to try it again soon with my other STFM which is much worse.