
I recently acquired a classic 16bit machine from my childhood in the form of a Motorola 68000-powered Atari 520STFM. Whilst it’s a later motherboard revision – C103253 REV.1 – it’s still a low-spec model with only 512MB RAM. The “F” in STFM is for the included 3.5″ floppy disk drive with the “M” being for the built-in TV modulator.
My hope is to upgrade this machine to the maximum of 4MB RAM and see which other add-ons (e.g. GoTek USB-stick floppy drive replacement; ultrasatan SD-card virtual hard drive; TOS upgrades; PiStorm accelerator) will best modernise the experience.

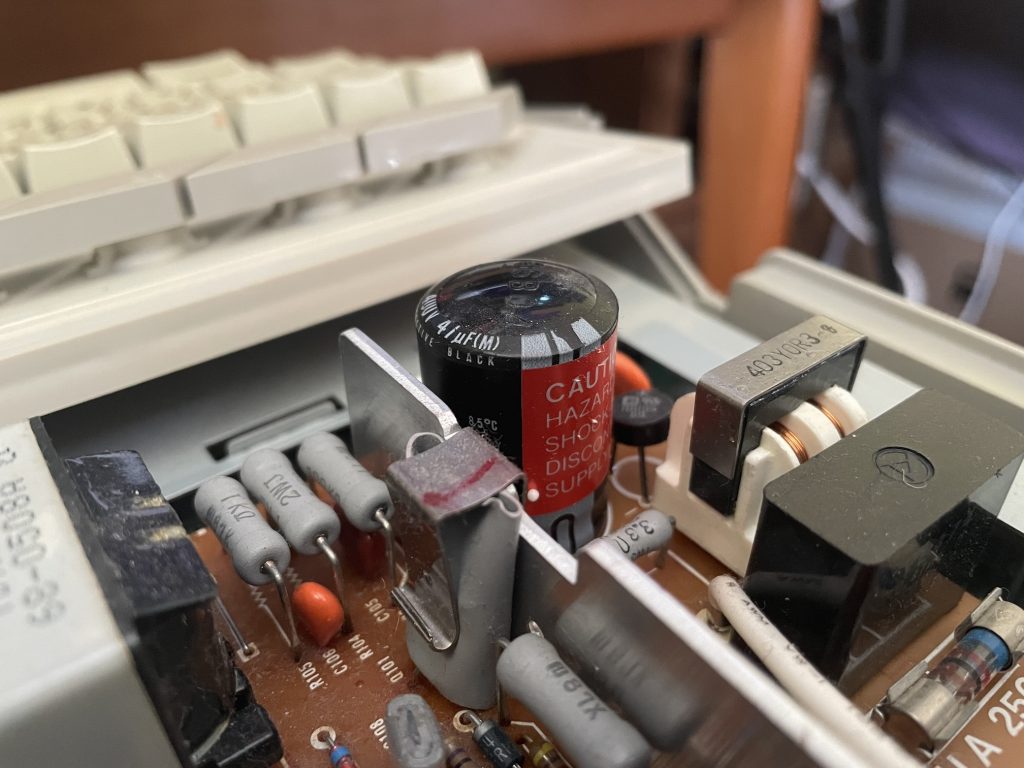
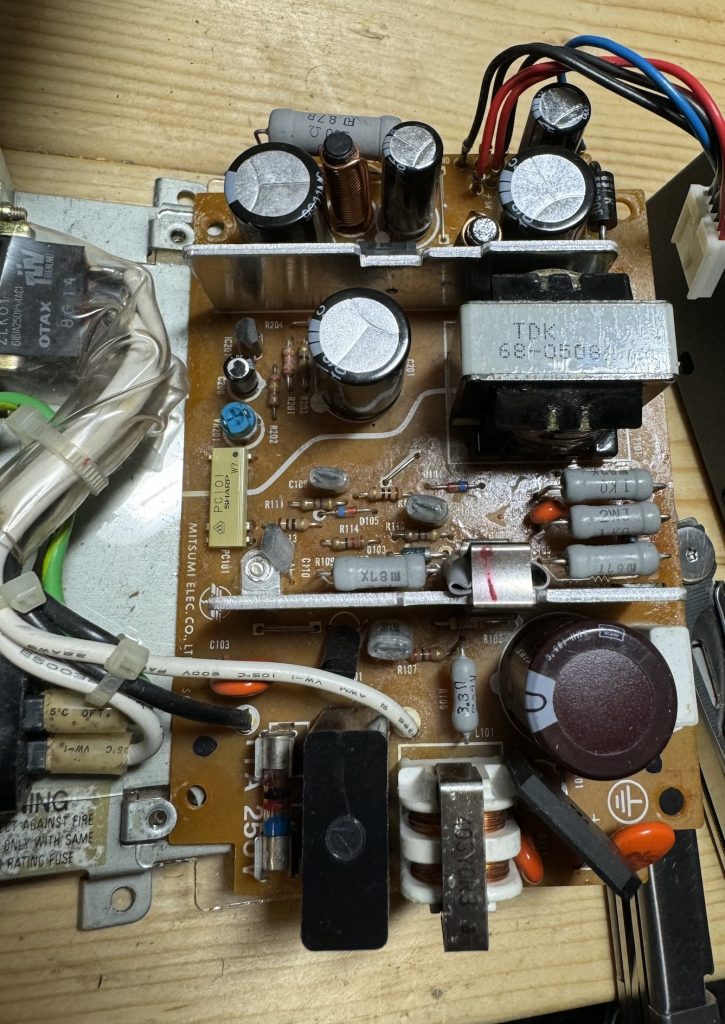
But first things first, I know enough to not turn it on in excitement – the most common fault with these older machines is failing electrolytic capacitors as the paste in them dries out, particularly in hotter environments like power supplies, so let’s have a look at the PSU… This model is a common Mitsumi SR98. We’re looking for bulging capacitor packages like this one.
The Exxos PSU refurbishment kit includes a replacement set of capacitors, a couple of replacement resistors and modern, more-efficient rectifier and low voltage schottky diode. This results in improved stability, improved ripple and lower temperatures. It’s also well within my soldering abilities!

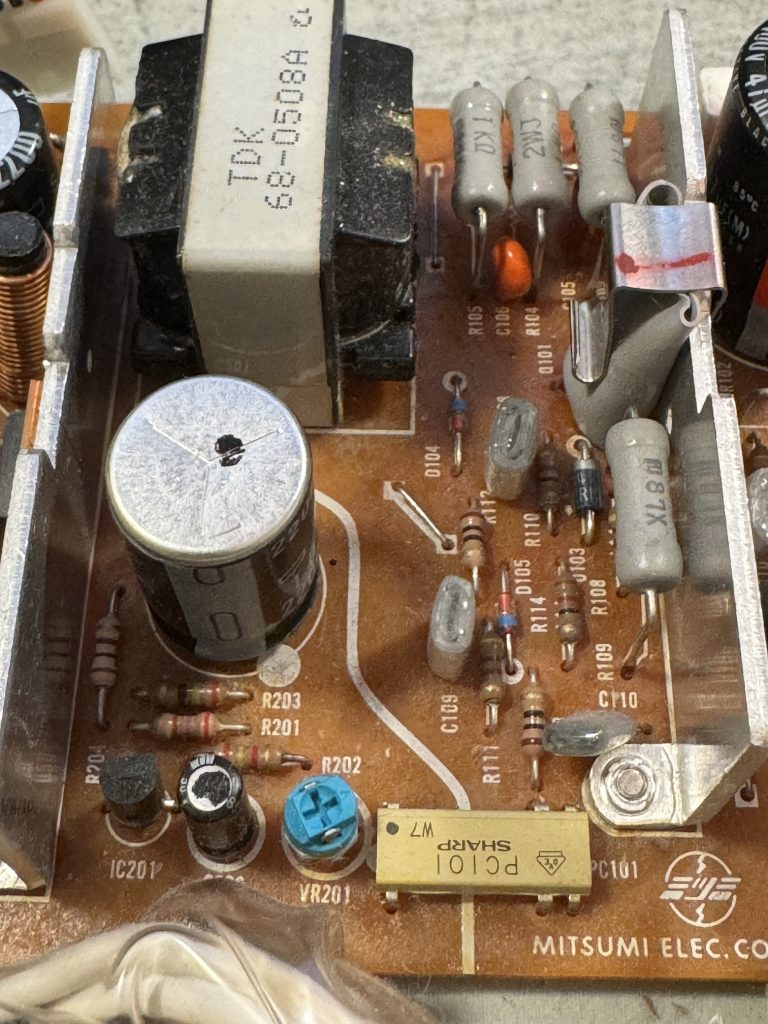
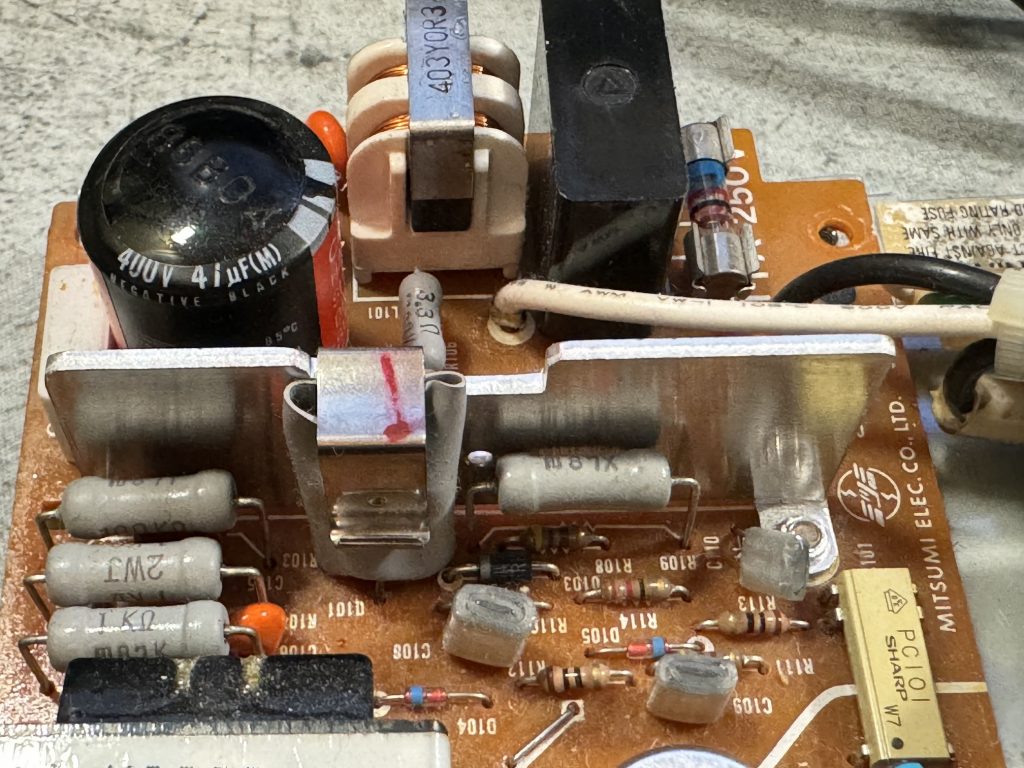


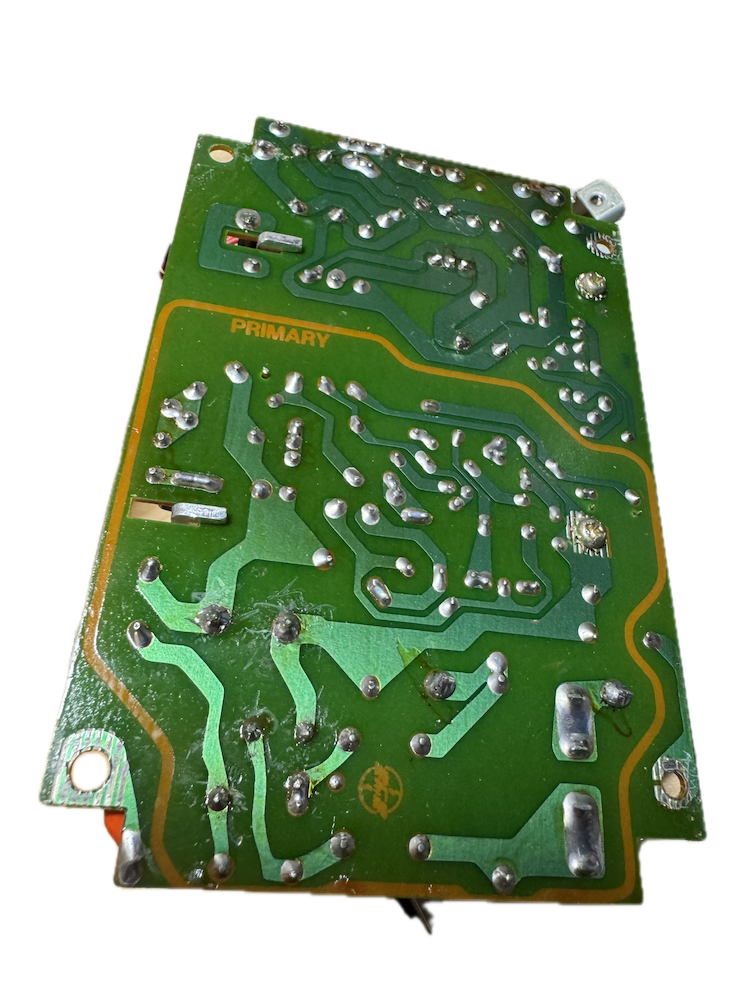
The fiddliest part is easily the rectifier as the new one is significantly larger and a different shape, but once it’s all done it looks something like the image below. A quick visual inspection underneath for bridged tracks and stray solder, maybe a quick clean with isopropanol and a toothbrush, and it’s ready to go.
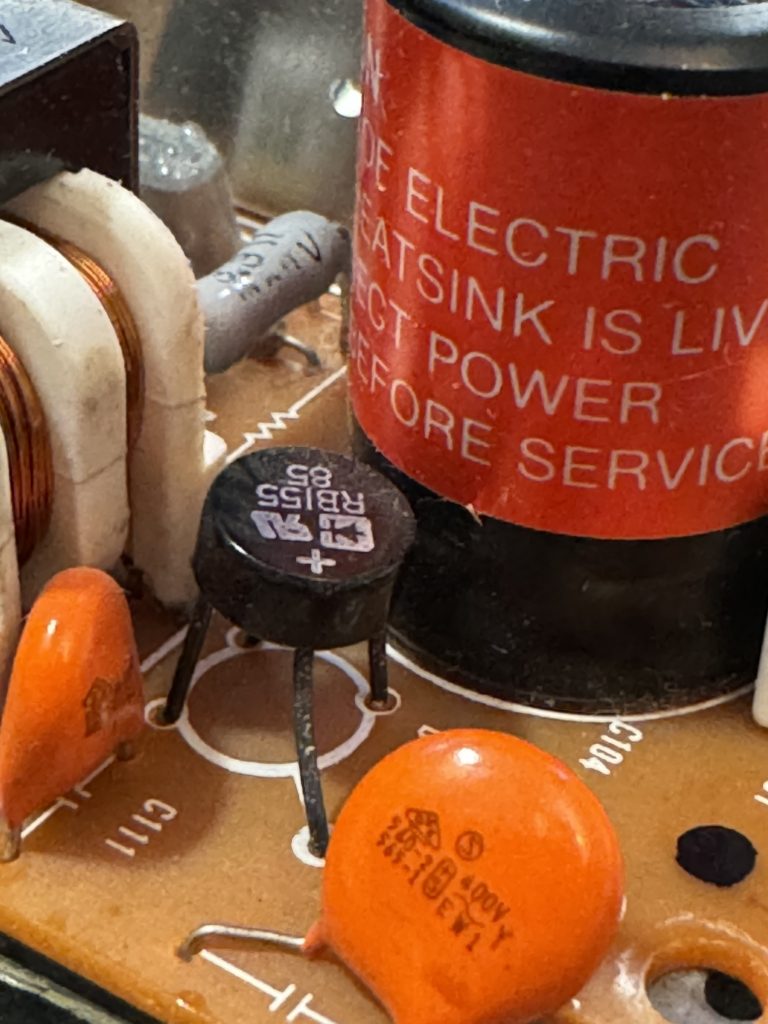
The refurbished PSU is refitted carefully back into the case and reconnected to the low voltage header on the motherboard. Various parts of the PSU are mains live when turned on (danger of death!), so extreme care needs to be taken if the whole case isn’t reassembled. Also note that this PSU likes to be loaded – i.e. not to be run bare, so don’t turn it on without plugging something in (ideally a cheap bulb, rather than an expensive motherboard).
Using a multimeter I measured the voltage across the large 4700µF capacitor and trimmed VR201 down slightly to bring the voltage closer to 5.00V.
Now flipping the power switch results in a little green desktop and no magic smoke!
This booted without a keyboard, mouse or floppy drive. I used an RGB SCART cable to an OSSC scan doubler (middle right), then HDMI to a regular modern monitor. The image in both low and medium resolutions is crisp and clear with very little hint of instability.
Next steps: cleaning the keyboard, retrobrighting the case, upgrading the TOS ROMS, fitting the 4MB RAM upgrade, Gotek and ultrasatan drives.
All the information I used for this PSU refurbishment was from the Exxos Forum.