
In previous episodes of the Atari 520STFM refurbishment it was cleaned and recapped. This instalment sees installation of a replacement floppy drive. The GOTEK, sometimes known as FlashFloppy (really the name of the firmware it runs) is a drop-in replacement for a 3.5″ floppy disk drive which has several benefits:
- It takes a FAT-formatted USB stick
- The computer sees it as a normal floppy drive
- It can serve a lot of 720K or 1.44MB disk images from a 16GB memory stick
- A tiny OLED screen makes disk selection pretty easy
- It’s much faster than a floppy drive
The downsides are that you can no longer use your old floppy disks, and sadly it doesn’t make those nostalgia-inducing head-seek noises… at least my one doesn’t!
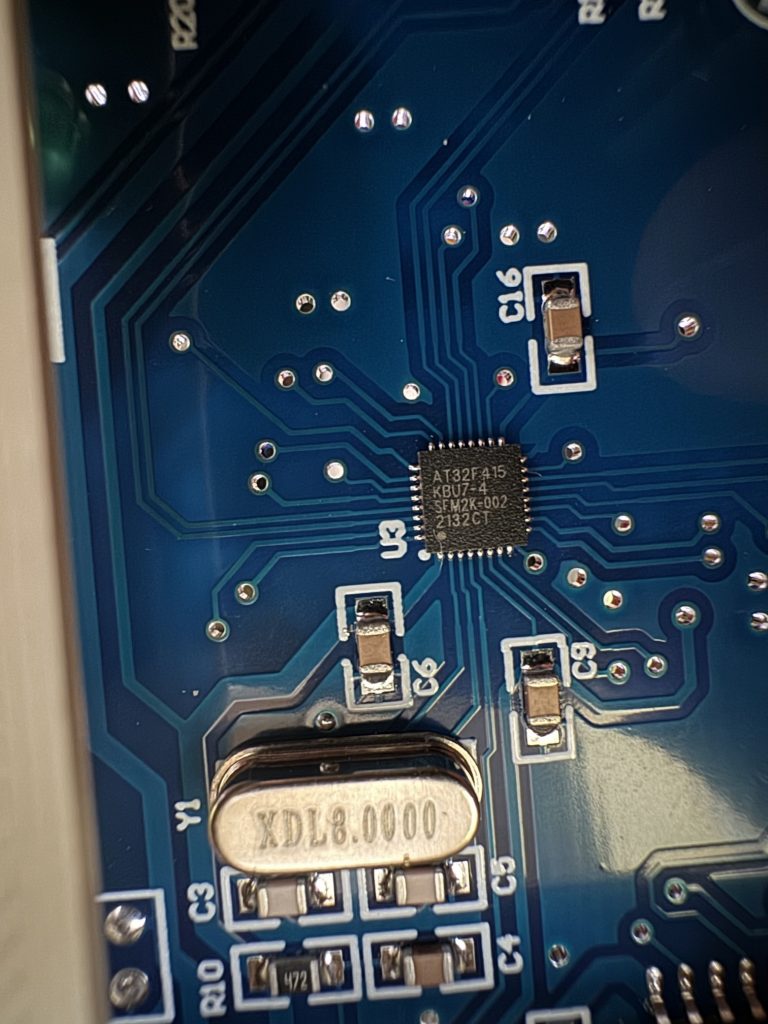
There are a couple of different GOTEK models, one old and one newer. The story goes that the price of the disk controller 10x’d so the makers changed it and the firmware wasn’t immediately compatible. My one, bought on fleabay UK, May 2024 has the newer chip.
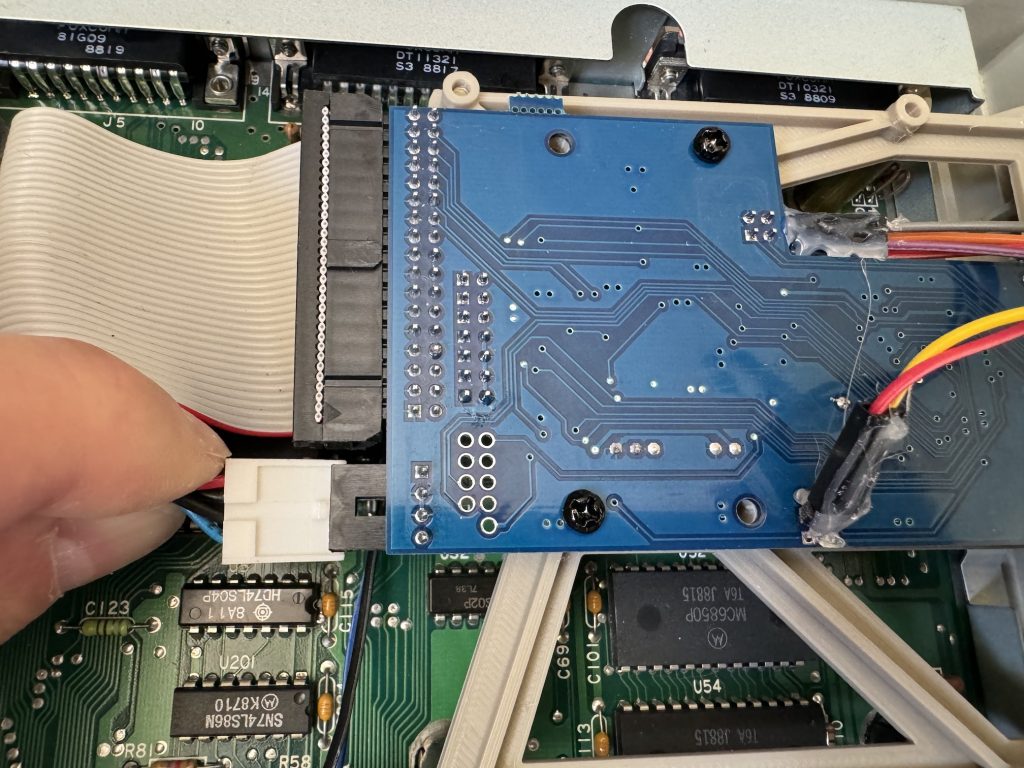
The drive chassis is approximately the same size as the floppy drive being removed, but this one was found to be fractionally shorter (approx 1cm) so the power cable would not reach.
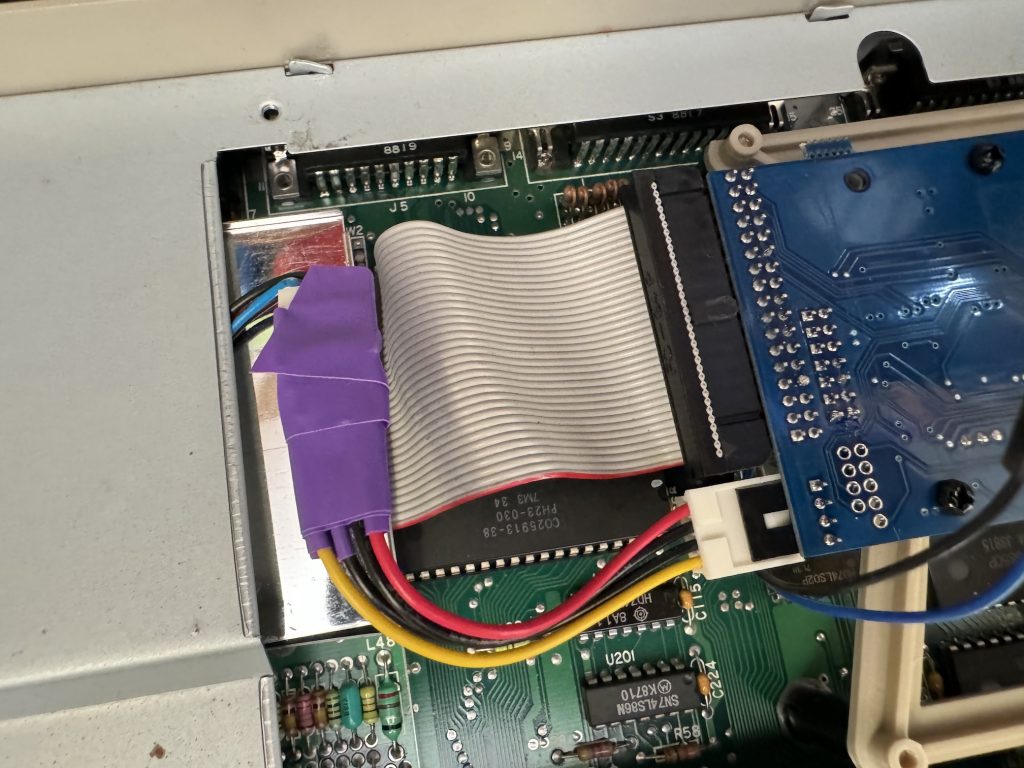
This was resolved by cutting approxiamtely 6cm of floppy power cable from a dead ATX power supply, and soldering four spare header pins left over from an ESP32 project.
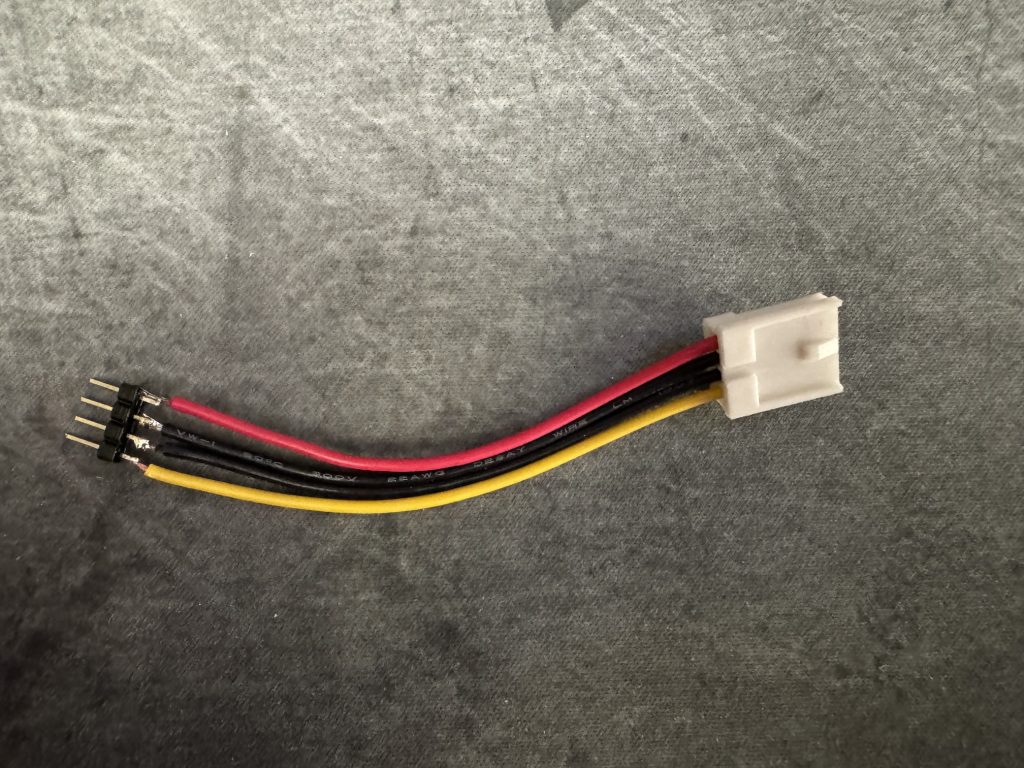
Naturally shrink-wrap sleeving is never available to hand so some fine purple electrical tape had to do. Hot glue would probably work quite well to secure the header pins as well.
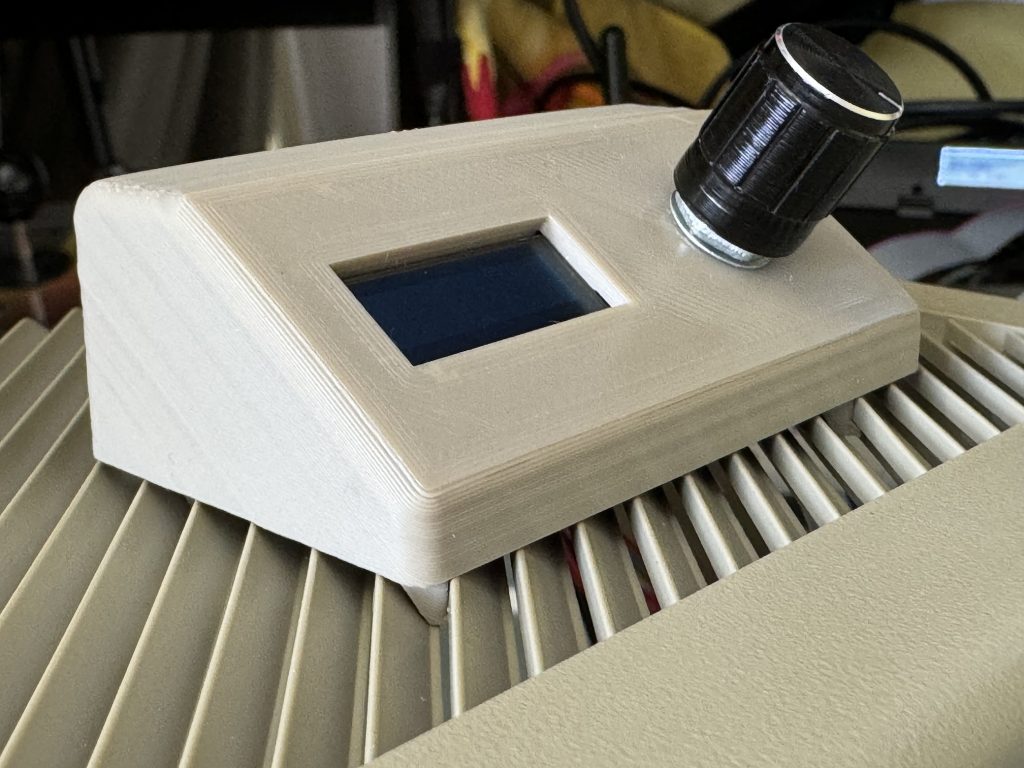
Next come the flyleads for the GOTEK’s rotary controller and OLED display. Not all GOTEKs come with an external control/display – most seem to have the display built in and many only have up/down buttons, not a rotary control at all. Given the drive is on the side of the STFM, the standard display isn’t visible most of the time which isn’t very practical, so the external module seems much more useful. The display needs careful positioning as redoing it later is a PITA.
A small knife was used to very gently pry open one of the slots in the top of the case in order to position the display properly when clipped in. This is necessary because the connector blocks don’t fit through the slot without a little extra encouragement.
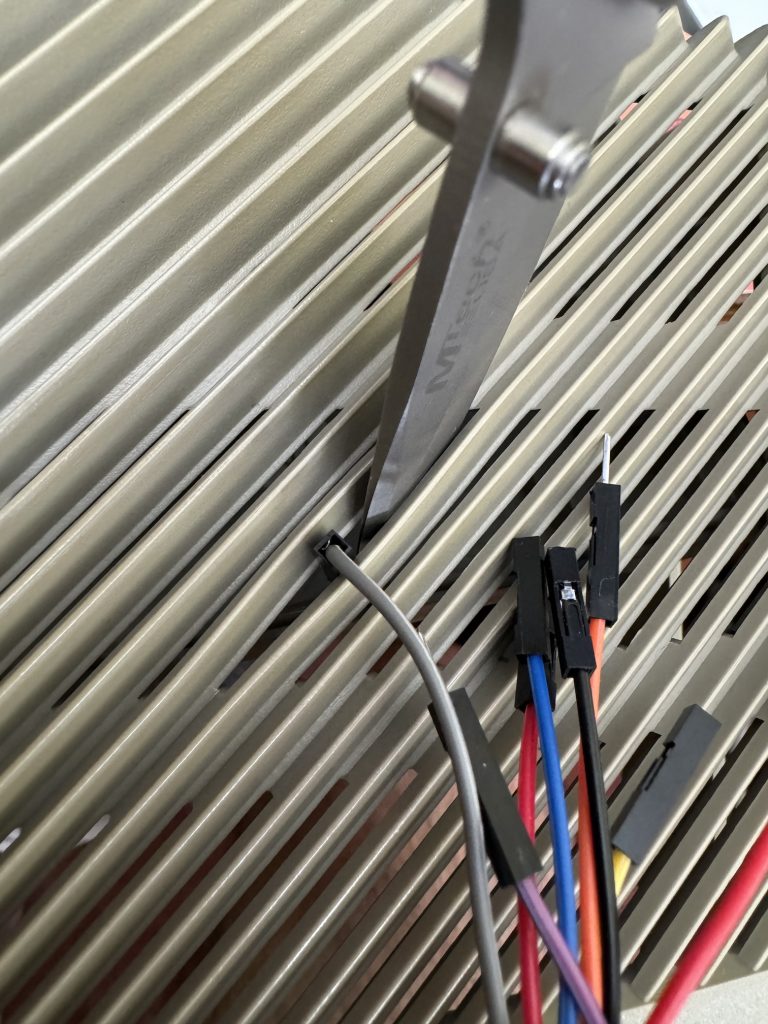
I took a moment to appreciate the colour-coding on the wires and the fact that the connectors on duplicate colours are alternately polarised meaning they cannot be connected incorrectly. That’s super helpful, but countered by the fact these one-pin blocks don’t make very solid mechanical contact, tending to fall out if you look at them wrong. Securing them using small spots of superglue seems to help.
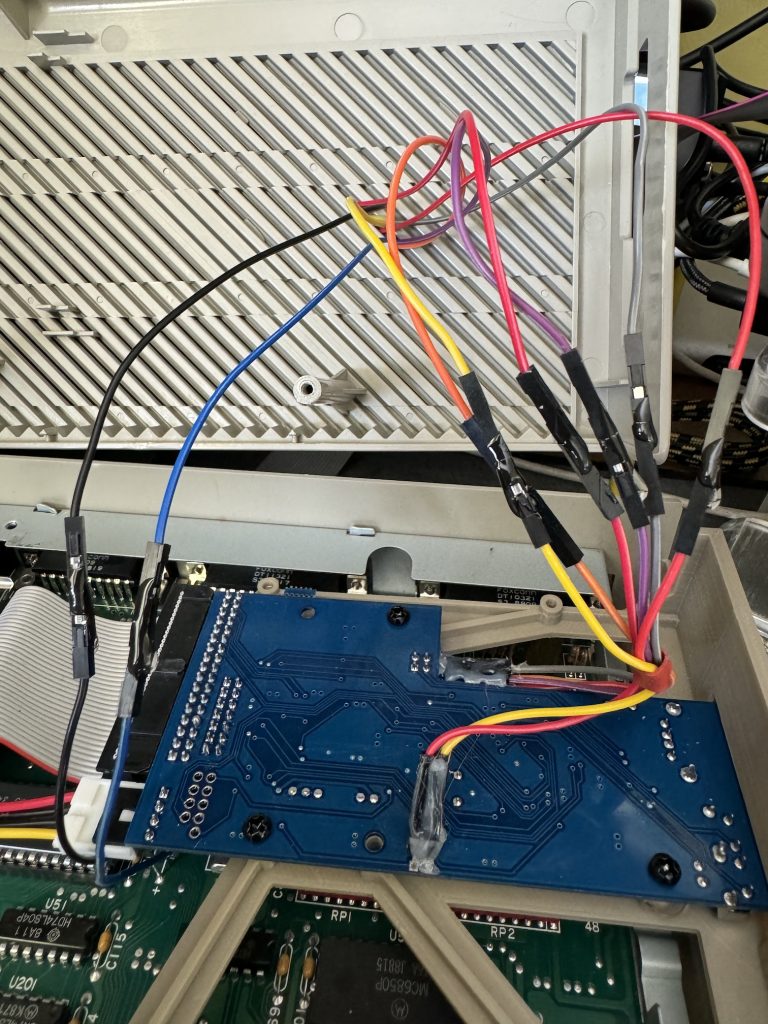
The excess wires are pushed through from the above and the controller/display module is positioned and clipped onto the top of the ST case such that the wires can’t be seen.
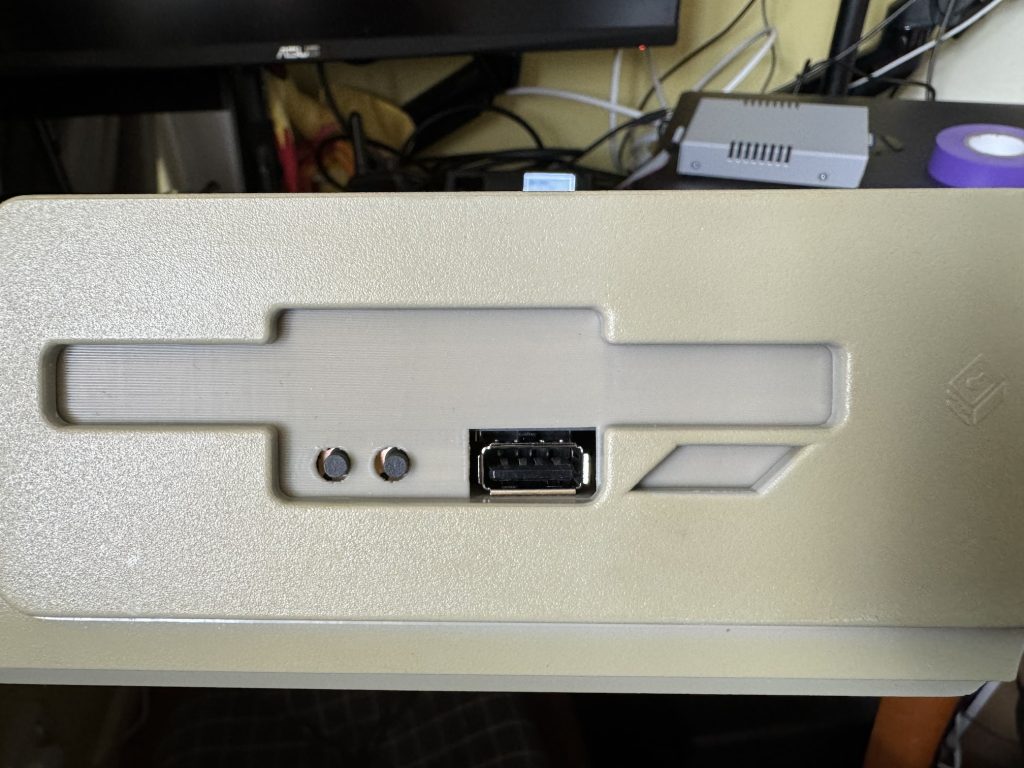
The drive itself has the USB socket very close to the old eject button surround moulding which interferes very slightly but in practice it doesn’t seem to affect USB connectivity. Unfortunately in this configuration, in order to allow the ribbon cable to reach, the drive is technically mounted upside-down.
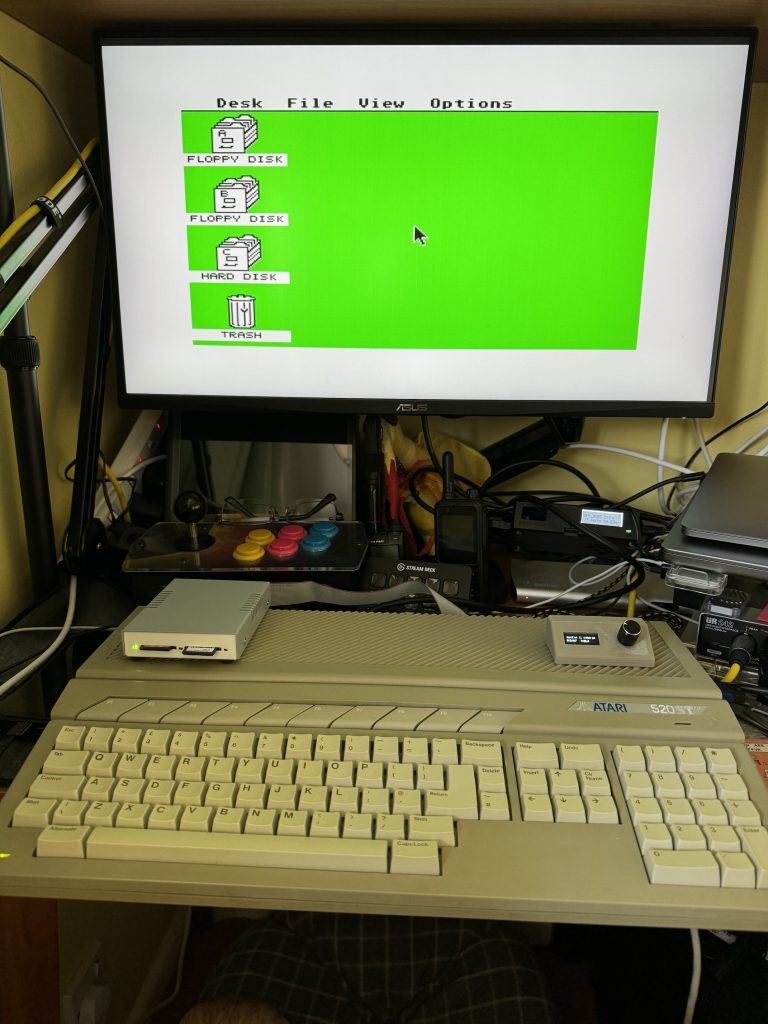
With everything closed back up it’s quite a smart-looking solution. Pretending to be a floppy drive doesn’t remove the quirks of using floppy disks but it does make them easier to deal with.
The firmware version shipped on the drive seems fine but it’s possible to flash updates using the FlashFloppy code and documentation here. All in all the GOTEK is pretty easy to fit aside from the extra power extension. I will almost certainly be fitting more in the future.